RepRap Mondo – Part 2 – Elevator Assembly
- June 30th, 2011
- Write comment
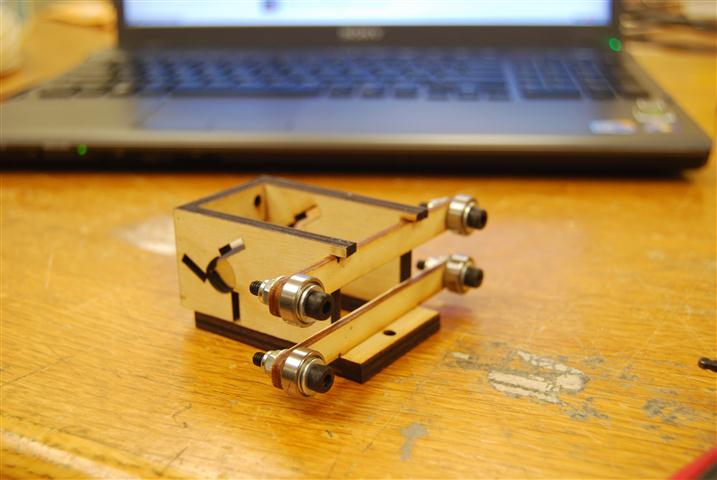
The kit includes (5) short roller mounts and (3) long roller mounts. As pictured below, a roller assembly is bolted into each of the two holes. The first roller assembly can be attached with the mount free of the larger assembly. The second should be attached after being inserted. Once attached the bolt and lock nut can be screwed down snug.
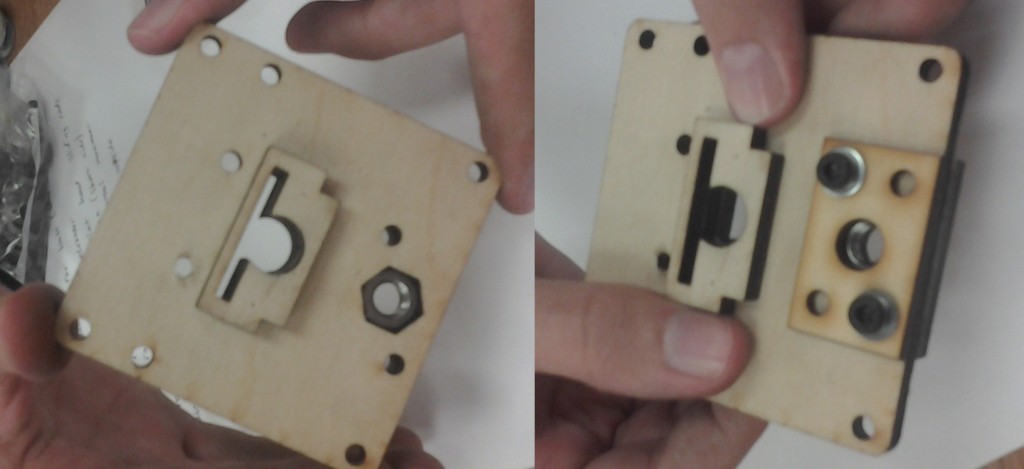
The plate also has a hexagonal cutout for a large nut. After inserting the nut, the retainer plate can be placed over it.
Next, the two grooved rectangular plates with the square cutout are added onto the bottom of the long bolt holding the retainer plate on. Leave these bolts loose for the time being.
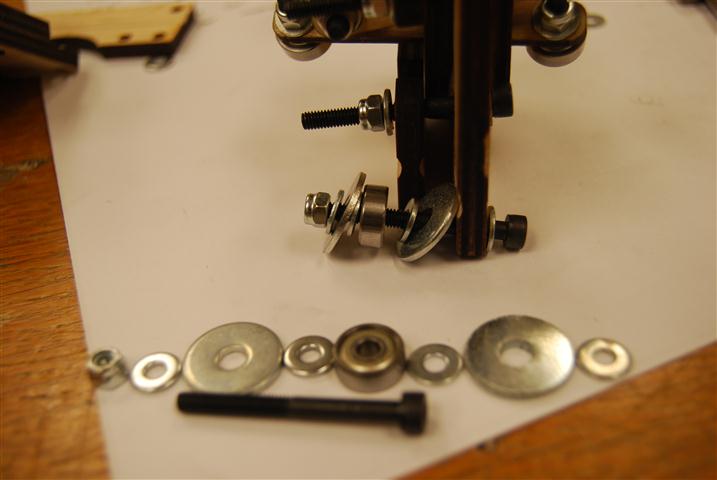
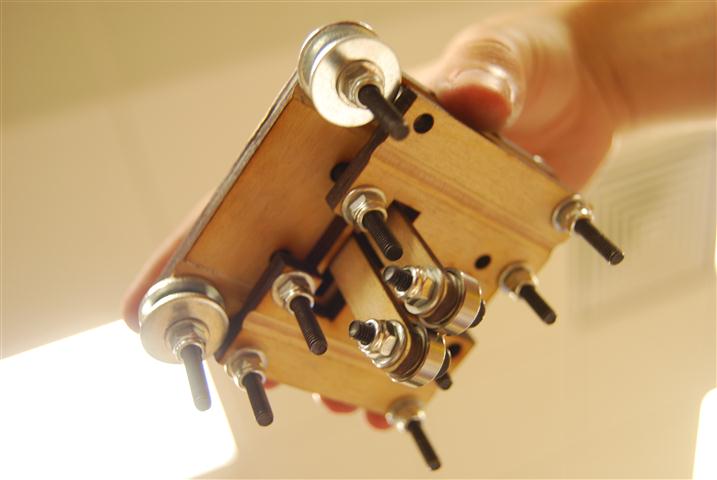
On each of the outer corners not covered by the last step, a belt roller assembly is added as shown above.
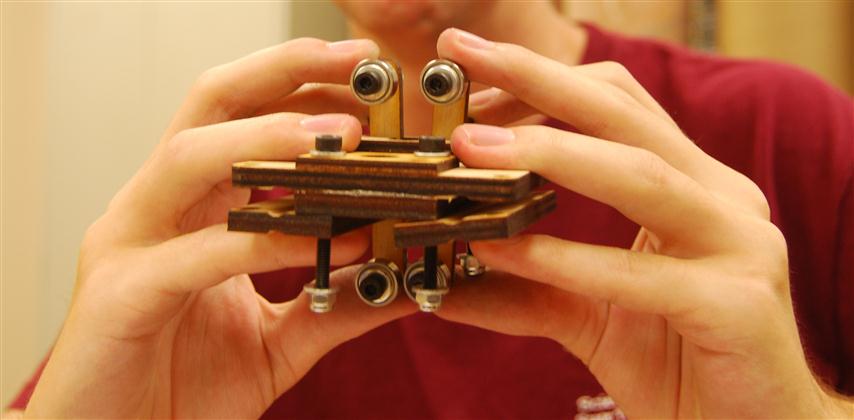
The final piece should look similar to the above (One bolt is missing). The assembly for the right side of the elevator is very similar. There is just one more set of rollers and the plates with the circular cutout are used instead.
The extruder mount uses the three long roller mounts. In addition, two roller mounts are already attached to the device and also get rollers.
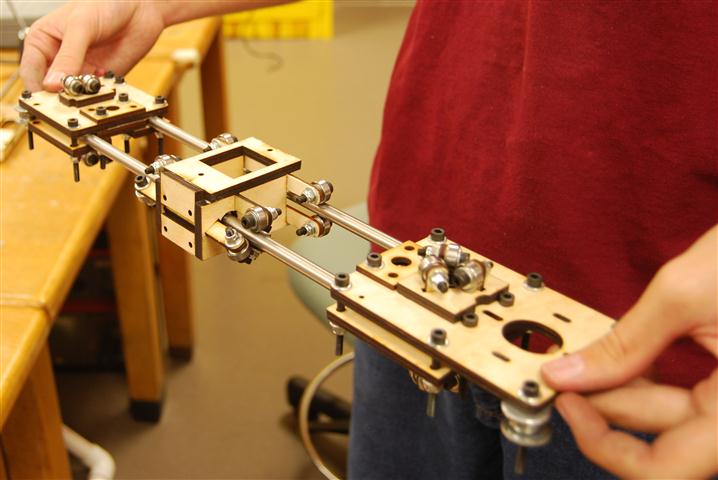
Finally, the two shorter smooth rods are inserted into the assembly. Keep the bolts loose enough that the rod length can be adjusted as needed later in the setup.

