RepRap Mondo – Part 1 – Unboxing
- June 29th, 2011
- Write comment
In May of 2011, http://techzonecom.com LLC introduced the RepRap Mondo. With a print volume of 18″x12″x11″ it is a big printer. We decided to purchase the Mondo after getting timely feedback to questions asked of the company. After a slight delay the printer kit arrived. What follows will hopefully serve as a guide to others building a Mondo and as a close-up tour of this fascinating machine.
Unboxing
The first surprise was that, as of this time, there are no instructions for how to assemble the Mondo. The website simply says that its construction is similar to that of the Mendel or Huxley. However, no one on the team has assembled either of those machines before, and the instructions on the RepRap site were not helpful. To assemble the Mondo, the pictures of the prototype as posted on the TechZoneCom website were used as our guide.
It is important to note here that because we never had official instructions we cannot be sure that we did everything as it was intended. All we can claim is that at the end of the project we have a working device. When official instructions are released, we will edit these posts to note where our version differs.
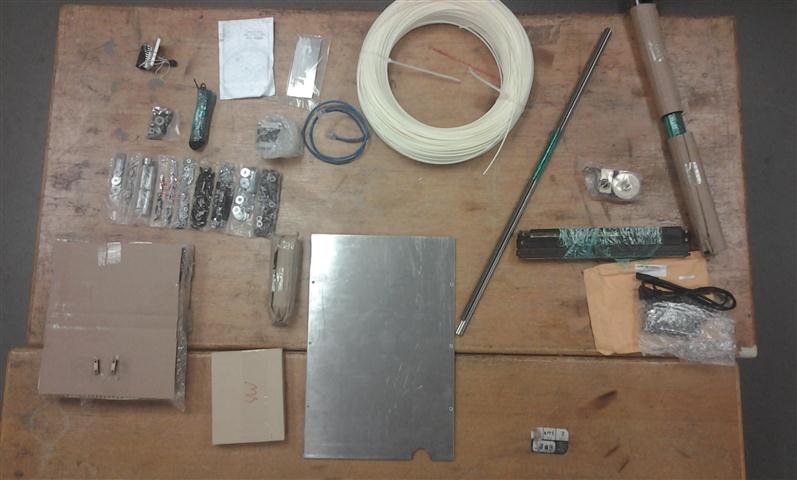
After unboxing the parts, we divided them into a few categories: rods, large frame pieces, small pieces, hardware, and electronics. Almost everything needed to get the Mondo printing is included except for the printing material and the computer and USB cable to drive it. We ordered a five pound roll of ABS to go with ours.
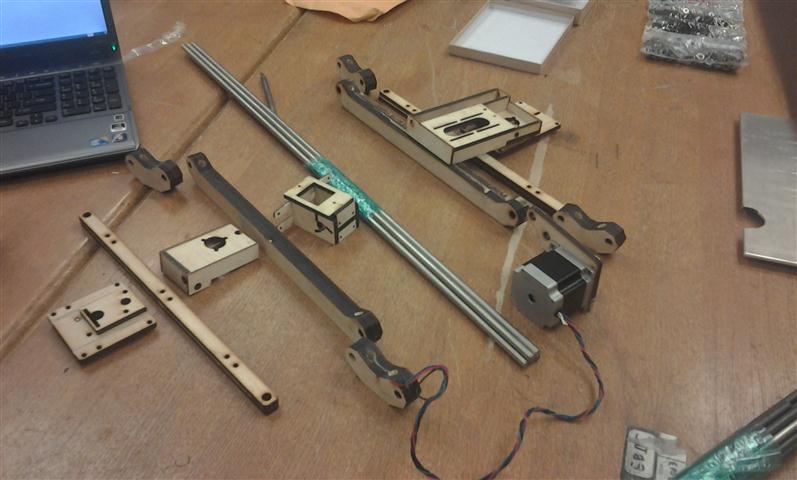
To get a sense of what things were we started by arranging the parts roughly be where they belonged according to the pictures.
The small parts were grouped to keep track of how many we had. Note that the two plates on the bottom left with five holes are stacked two high. We later discovered that there should have been two of the small piece rectangle with two holes as shown on the top row. Luckily we were able to fabricate a replacement easily.
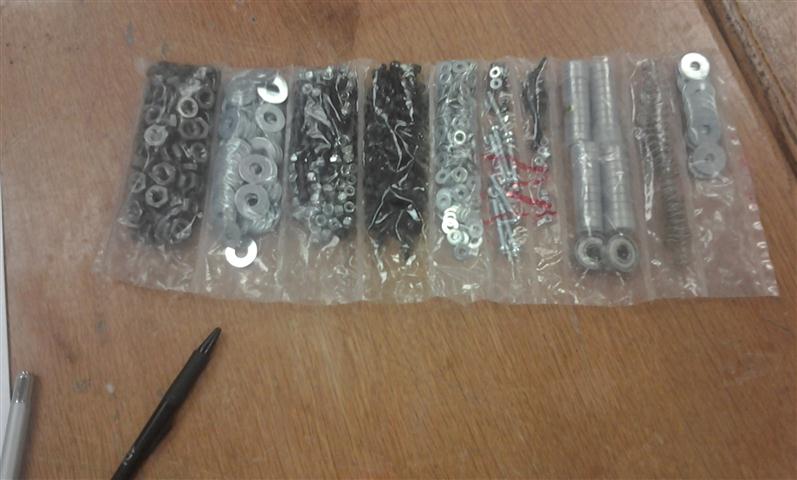
Various pieces of hardware used to assemble the device are included in the shown sub-divided plastic bag. We simply cut one end off to keep the parts organized and accessible. Some of the parts are mixed together which became frustrating at times. There are a lot of locking nuts. Before starting assembly make sure that you have a ratchet set for the lock nuts. This will make the assembly go much faster.
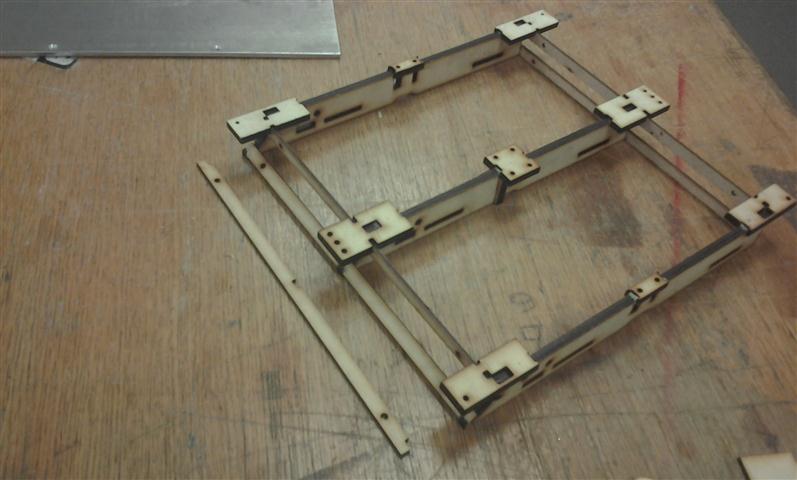
A number of the laser cut parts assemblies came pre-glued. This, without a doubt, saved us many hours of gluing and frustration. One example is the bed support shown above. One piece did fall off sometime during transportation, but it was easily re-attached.


